What this section covers: The complete setup process for your Churchnet site, from logging in for the first time to having a fully published site with all your churches, people, services, and content in place. Work through these steps in order — each one builds on the last.
Make sure you've worked through the Gather Your Content section first. Having your information ready before you log in makes the setup process much faster.
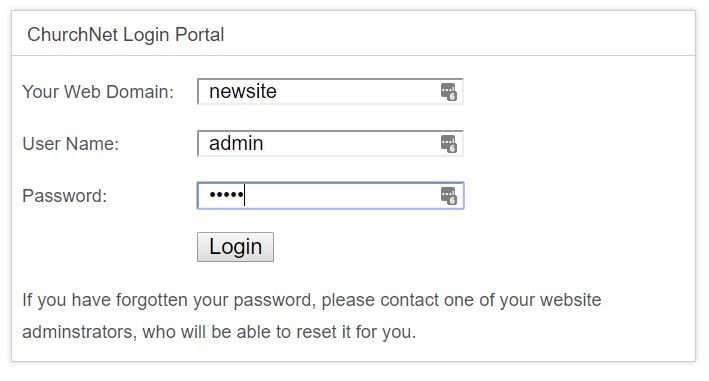
Step 1: Log in to the admin panel
The admin panel is at manage.churchnet.co. Use the login details sent by Adrian when your trial was set up.
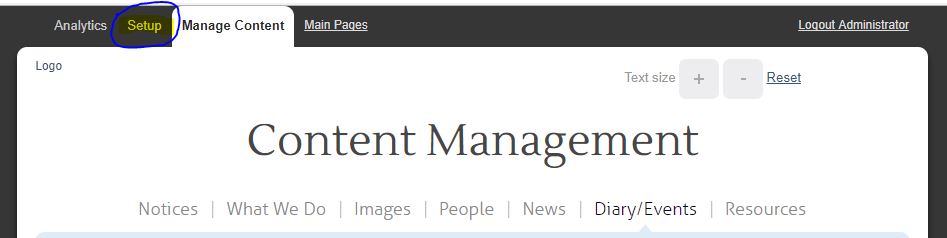
Once logged in, you'll see the main dashboard. From here, all site management happens — adding churches, people, events, news, and settings.
It's a good idea to set up at least one other administrator early on — ideally someone who will be helping to maintain the site. This prevents the site being locked if login details are lost. You can add administrators under Web Users in the admin panel.
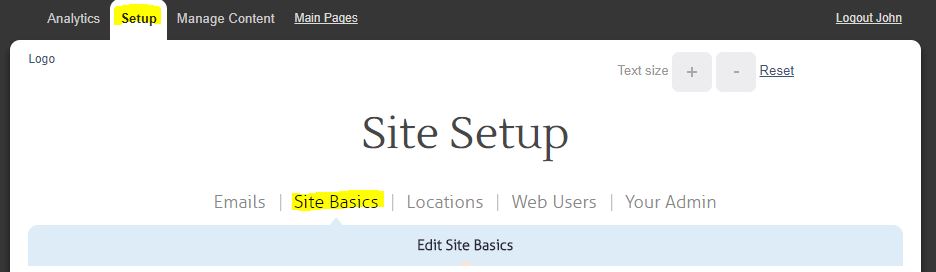
Step 2: Configure the site basics
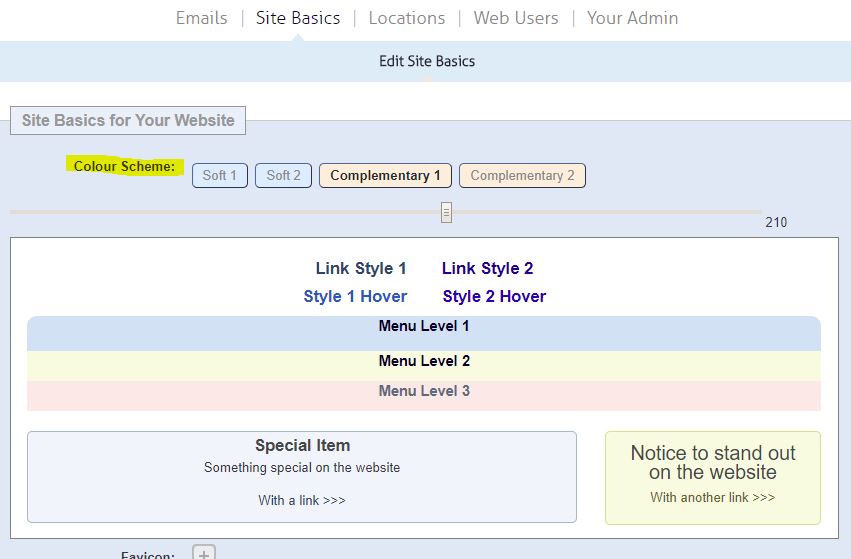
Under Setup → Site Basics, add your benefice or parish name, a welcome message for the homepage, and your contact introduction text. This is what visitors see first when they arrive.
Choose your colour scheme at this stage too — you can change it later, but it's easier to make the decision now while you're thinking about presentation.
Step 3: Add your churches
Under Locations, add each church in your benefice. For each church you'll need: the church name, address, postcode (for the map), a brief description, and at least one photo.
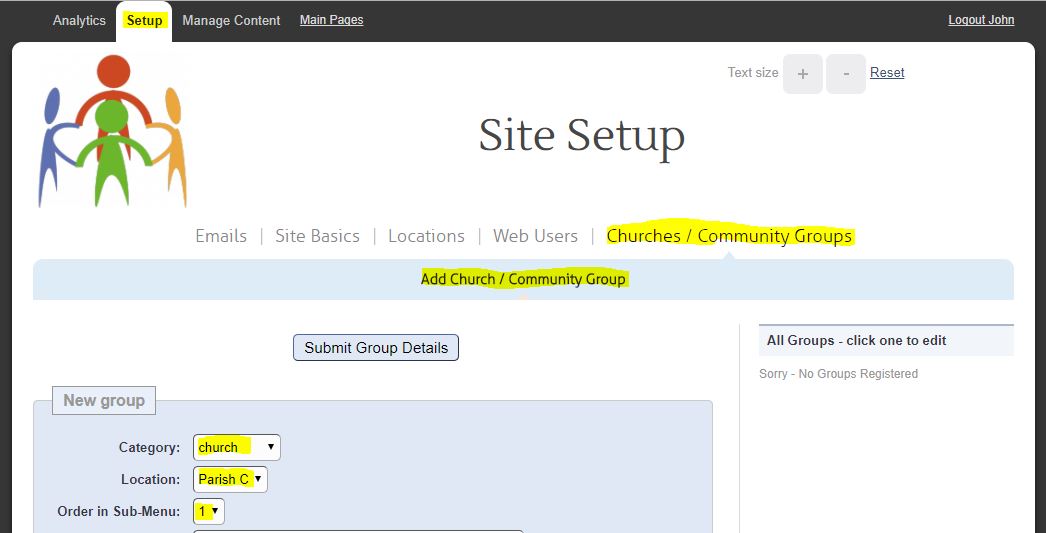
Adding the postcode enables the Google Maps integration — visitors can get directions directly from the church's page. Worth the 30 seconds it takes.
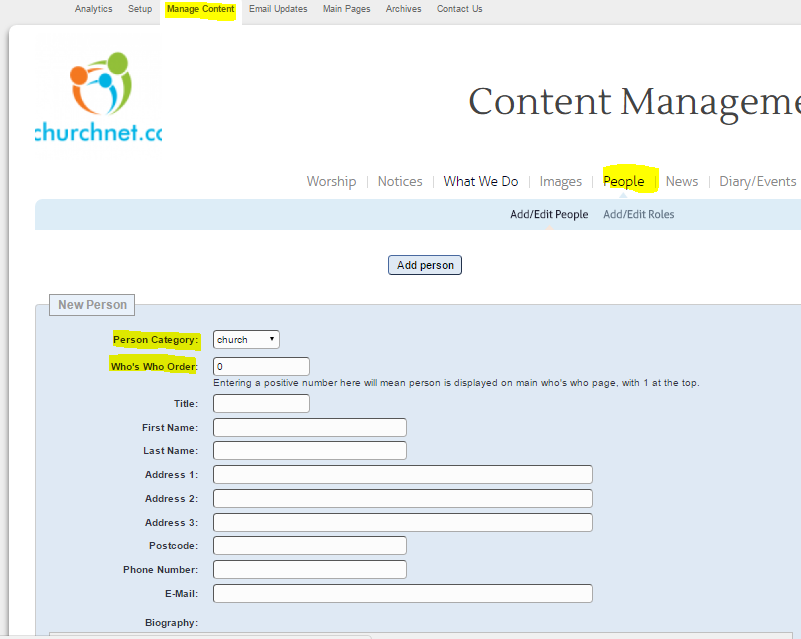
Step 4: Add your people
Under People, add the key contacts for your benefice — clergy, wardens, administrators, safeguarding officer. For each person, you can add their name, role, photo, email, and phone number. You control which contact details are publicly visible.
Step 5: Add your services and events
Under each church in Locations, you can add regular services (times and types) and upcoming events. Regular Sunday services appear in the diary. You can add as many services and events as you need.
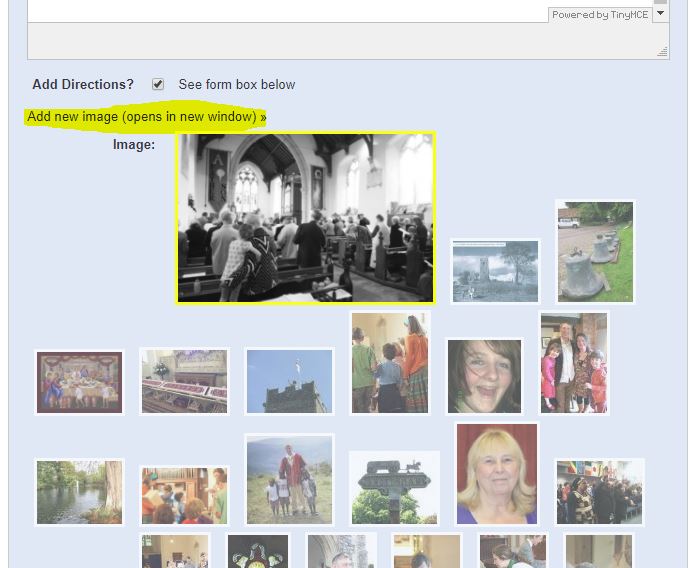
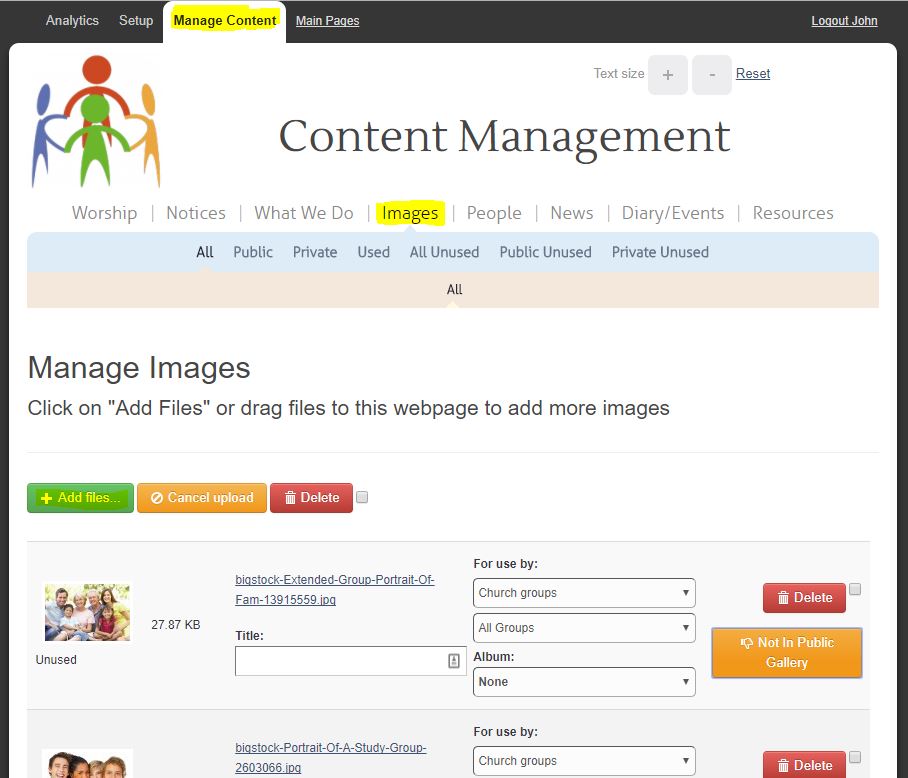
Step 6: Upload photos and documents
Under Images, you can upload and manage all your photos. Under Files, you can upload documents (PDFs, Word files, etc.) to make available for download.
Step 7: Review and publish
Once you've added your churches, people, services, and photos, visit your site's public address to see how it looks. Your site is live from the moment it's created — any changes you make in the admin panel appear on the public site immediately.
Share the address with your PCC or a few trusted people to get feedback before promoting it more widely. Most people find the site is in good shape within a few hours of setup.
If you'd rather hand over the setup entirely, Churchnet offers a one-off setup assistance service for £100. You send Adrian the information and he inputs everything for you. Contact him to arrange this.